Showing posts with label progress. Show all posts

July 29, 2013

Getting to Know the Farmers' Wives

If you're at all interested in modern quilting--or really any sort of quilting--chances are, you've heard of the Farmer's Wife Sampler Quilt.  This book of 111 six-inch blocks has excerpts of letters written by farmer's wives in the early 20th century, in response to a prompt about their daughters' futures.  That may not sound thrilling, but if you've seen the quilts that have resulted, you too would feel the pull to this book.  In fact, the multiple Flickr groups for makers of these blocks have provided hours of inspiration, even before I bought this book.

My Sewing Buddy sent me a bag of scraps from Denyse Schmidt's Hope Valley line.  Everyone should know how much I love DS by now--her fabrics, her books, herself--so this gift made me ecstatic.  Because the fabrics had originally been used in a log cabin quilt, there were some odd shapes and sizes.  I had to be creative in how to use them, though I did know I wanted to use them ASAP.  I ran out to Barnes & Noble, bought the Farmer's Wife book, and got started.

I've wanted a mini quilt for my cubicle, so I chose nine blocks and used a white background (as always).  I knew Hope Valley would make me happy every time I saw it, even while working!


The blocks are small, as I said, and use templates for all the piecing.  Some of the templates are so ridiculously teeny--that led to a lot of odd cuts from my rotary blade.  You can also see that my piecing isn't perfect, and I was perhaps a bit too trim-happy with some of the blocks.  But, as I'm the only quilter at work, no one is going to notice.


I free-motion quilted in lots of loops, which was mostly just fun!  I wanted to try something new.  I should've changed my needle for it--dang.


I backed the mini-quilt in Hope Valley that I used for Modern Maples, and bound it in a DS Quilts print (also used in my Modern Maples).  I added little loops at the top to hang it in my cubicle.  Genius, right?  I'm going to get a patent.  (Just kidding, I'm 100% sure I'm the last person in the world to think of this.)

The mini-quilt matches the Denyse Schmidt mug rugs my buddy made me, so my cubicle is extremely coordinated.  I love it!

In other news, I started another baby quilt!  For those of you counting, that's...five?  Is that right?  All for babies I know, or mothers I know.  That's crazy, right?  2012 and 2013 have been very fertile years.  Be careful out there, kids.


I'll have more information and pictures when it's done, but I decided to use Timber & Leaf for this new baby girl. I'm waiting on two more fat quarters to arrive, but so far I love it.  I hope she does too!

May 9, 2013

Sew it would seam

Hand-quilting again.

And again, the lines don't quite match with the seams so I'm improvising.


Actually, in that photo the seams are pretty good.
One of these days I will master the quilting/seam match-up.


To be fair to myself, the vertical seams are true and that's where I chose to begin the hand-quilting treatment.  The horizontal seams suggest a lack of planning/measuring. I'm not sure if the same hand-quilting treatment will hide the issue or make it even more noticeable.


To be honest, this bit has taken quite awhile and isn't always pretty.  More of this might just clutter things up a bit.

And I still have to figure out how to attach the vinyl backing.


Good thing we aren't picnic-ing anytime soon.

May 2, 2013

Lessons learned

Well.  I called it.

I finished the top in three days.  It would have been two, but I forced myself to slow down.

Interesting tidbit from the construction which I did not encounter in the other quilts; when designing and cutting, add ~10% to the overall size of the quilt.  When I laid out all my blocks for this quilt, it measured 46" x 52".  When I finished construction, it measured 41" x 47".  I lost five inches all the way around.  I basically lost an entire row and column to seam allowance. Needless to say, the quilt is a bit smaller than I intended.

Lesson learned.  


This past weekend I bought the backing and the wadding.  The backing was an easy trip to the haberdashery department.  The wadding was a different story.  I had it delivered and the postman had an issue with ringing my doorbell to actually deliver the goods.


Apparently, there was a dog in front of our house which kept him from ringing the bell and delivering said packet.  However, the dog didn't prevent him from taking time to write out this card and stick it through the mail slot IN MY FRONT DOOR.  The mail slot which is just beneath the doorbell.  I ask you.

So, yesterday, on my due date, I walked a mile down the hill to the depot, picked up my wadding, and walked a mile back up the hill (and Pruin still hasn't made an appearance) because the postman was too scared to walk past this 'dog' to ring the bell, but was okay walking past it to stuff this note, along with junkmail, through my door.  FYI, we don't have a dog.

Anyway...

All that's left now is assembly.


Coincidentally, I cracked the code on how I could justify to myself the use of all these new materials when my brief is to re-use stuff.  I know you were all really concerned with this breach of procedure but rest assured I have a solution.

In the spirit of lessons learned, I am planning to re-use a technique I kind of 'made-up' in my first quilt.  I learned something in my first quilt that I am going to purposefully re-do here with similar, yet different, results.  Obviously, this happens in every quilt I make to some degree.  We're always learning from what we have done previously, whether we realize it or not, but here I am very consciously pulling on a very specific technique.

Coincidentally again, this justification aligns really well with some theoretical arguments I made in my doctoral thesis three years ago about the passing on of performance skills.  I won't lie.  It's a little bit comforting all that theoretical work isn't going completely to waste.


That's all fine and dandy (I hear you saying) but what is the technique?  What is the relevance?

If you recall, I only quilted the back side of my t-shirt quilt.  This was due to the two sides being completely different designs and not wanting to obscure the t-shirts on the front half but wanting to add some visual interest to the huge blocks of offending florescent colour on the back.  This time around I am also only quilting one side of the quilt.  I will quilt the top and leave the back untouched.

Here's why.  The back of this quilt is to be made of vinyl.  Sounds kinky, but it is for a specific purpose.  This quilt is earmarked as ground cover for Pruin when we head to the park this summer.  If you have any experience with the 'great British summer' you will know that the ground can be counted upon to be damp more often than not.  So I am making the back of this quilt wipeable/waterproof.  To that end, I don't want to put holes in the vinyl with quilting.

I'm also not completely confident in my machine's ability to stitch vinyl.  The final part of assembly may have to occur at my local sewing shop's quilting club where I can utilize their equipment and expertise.  Which again, will offer the opportunity to learn a skill/technique and make it my own in this particular quilt.


The quilt may be made of all new materials but that just makes the passing on of technique and skill and performance that much clearer.  With this quilt the story isn't in the fabric or in the future memories.  From the lesson of seam allowance to one-sided quilting to using a new machine, this quilt's story is about the discovery and re-using and re-honing of skill and technique.

March 21, 2013

Taking my time

The machine is still held hostage, although no longer by a bathtub.  Shower doors are now standing between me and finishing Pruin's quilt.


The one thing I have been able to do is hand-quilt.  As I sit here, secluded away in the living room waiting for the next builder's question about tiling or toilet placement, I quilt.  I quilt wonky lines that don't meet up with seams and think about when I might be able to go to the toilet without having to ask permission.

Quilting was slow to start.  I attempted to do three stitches at a time.  Rocking the needle between the layers ever so carefully for the needle to get stuck as I tried to pull it through.  Pruin wasn't helping either.


The bigger I get, the harder it is to get a good look at what I'm doing.  Most of the time I am quilting from a distance, which may account for some of the wonky lines.

Eventually, after roughing up my fingers a bit too much and causing a lot of unwanted puckering, I let myself quilt one stitch at a time.  And suddenly I was moving faster and then, just as suddenly, done.

As I finished, I wondered if maybe I should have gone with an argyle pattern instead of trying to follow the triangles that already didn't meet up.  I kicked myself for still not learning my ironing lesson from months ago. Although, to be fair to myself on that one, the ironing board is currently covered with a fine layer of brick dust and there really isn't anywhere to set it up right now.

Regardless, it is done and ready to be squared up and binded.  This little piece has gone much faster than I am comfortable with for some reason.  I could have had it done in a few days, really, but I've been drawing it out.  Still not sure why.

But again, it will sit for a bit until I figure out what to do about the binding.  I broke my rule and bought some fabric from the local sewing shop with the idea of having the owner give me a bit of a tutorial on binding.  I figure the passing on of skill equalizes out the purchase of new material.  Who knows, maybe I will have something to offer her as well.


March 7, 2013

...and just like that

the top was done.


We've had builders in the house all week tearing apart my bathroom.  Between them turning off the power and water at unannounced intervals and sending demolition dust throughout the house, I found time to iron and stitch the six rows of Pruin's quilt.

Ironing is a funny thing.  It is such a necessity in quilting.  It changes the shape and size of even the cleanest seam.  I thought of this while ironing out the seams of each row.  They matched up great before ironing, not so well after.

I thought of the over-privileged city-boy tailor that made Pete's wedding suit almost three years ago.  At our first fitting, the suit looked ridiculously big and clownish and I was not happy seeing as we were putting more money into this suit than my dress (justifiably, as Pete has gone on to wear that suit at least five more times and my dress is still sitting in a box under the guest bed in my parents' house).  The young cocky tailor assured me it was the right fit, it just needed to be ironed and pressed.  He claimed these hot air and steam actions would 'shrink' the suit at least half a size and give it that 'tailored' look.  It did, to an extent.  It also had to be taken in because it was just too big.

With Pruin's quilt, the opposite happened.  Each row got a little longer and a little more out of sync.  As I pieced the rows together I realized my triangles weren't going all 'pointy' but keeping their blunt corners as I was a bit too stingy with my initial seams.

I could have ripped it all out and started again.

I didn't.

It's good enough.  Another parenting lesson hidden in the stitches:  letting go of perfection.

February 28, 2013

Pre-mom, Pre-baby

I procrastinated the piecing of Pruin's quilt (surprise, surprise) due to indecision about a pattern.

I procrastinated the piecing of Pruin's quilt due to lack of mojo and meaning.

I procrastinated the piecing of Pruin's quilt due to my underlying terror about becoming a mom.


This quilt is for my unknown child and I have no idea what it takes to be a mom.  How to make decisions about the life of another being when the future is so unknown.  How to trust my gut when the stakes seem so high.  A million other fears about my capability and the result of that ineptitude affecting an innocent.

All this fear and indecision was held in the piles of triangles waiting to make this quilt.

But as with this child, I had to start.  In nine short weeks this being will come into the world whether I am ready or not.  So the quilt might as well be ready.

I channeled the age old advice, 'fake it 'til you make it' and got the machine out.


It wasn't pretty.  There was a lot of grunting.

It was also very dim.  The lighting in our dining room is great for eating and giving your skin that airbrushed look, but not so hot for concentrating on detail.  About a quarter of the way through I donned my headtorch in order to get a bit more light.

It's all very glamorous over here.


It took awhile to get my flow.  These shirts are all different textures and I kept getting the corners caught up in the teeth.  The seam allowance is all over the place, but the rows seem to be lining up relatively well.

Piecing went a lot faster than I expected.  That scared me a little.  Surely, it should take more time to make something this laden with meaning.  But perhaps the speed is meaningful as well.  If there are a few things pregnancy has taught me about life in general, the first is that there are too many 'shoulds' in this life and trying to follow the precise directions of all those 'shoulds' may very well end you up in a ditch.  The second is that time moves on much faster than expected or desired.


This quilt is unlike my last in so many ways.  It is much more automatic.  A lot less thought and consideration is going into the piecing.  I'm not sure how I feel about this streamlined process of using a pattern.  It still seems a bit hollow but I can't deny I enjoy the visual created using patterns.  Every day and quilt can't be the giddy experience of my first.  In fact, I probably won't find that again.  It was a unique experience taking in more than just learning to quilt.  I really can't expect to replicate that every time.  I'm working on finding the uniqueness in each quilt experience and accepting whatever comes.
 

Three hours later and the rows were done.  I had been laying them back on the floor once complete.  A little throwback to my initial technique.  The grunting was getting embarrassing  Then I noticed my bare dining room walls.

Oh! Hello, new design walls.

The six rows of Pruin's quilt now hang taped to the dining room wall.
A constant reminder to keep sewing.
Just keep sewing.

The baby is coming whether I'm ready or not.
Just keep sewing.

February 6, 2013

Triangles, Triangles everywhere

WOW!

A lesson in patience.  Cutting all these triangles is tedious. I'm feeling out of my element.  The last two pieces I made were based almost entirely on the materials themselves.  The t-shirts dictated their shape based on logos.  The remnants came in a squarish shape so I went with 'half square triangles' (or HST as their known in the quilting world, as Emily informed me after the fact).  Pete's shirts are not lending themselves to any particular shape on their own.

Based on the backing fabric, I decided to go with a triangle pattern to mirror the bunting.  This means cutting out a lot of triangles.  I started with the sleeves and front panels of each shirt.  The palette was looking a little washed out so I threw in a few triangles from extra backing fabric.


After three rounds of cutting triangles I couldn't bear to look at any more.  I used to have the same feeling ironing these shirts.  When Pete retired these I was so pleased to never have to iron them again.  Of course I did iron them one last time before I chopped them up into triangles.  It was bitter sweet.  

I felt it was time to mess with possible patterns.  Before I began cutting I attempted to plan out a few possibilities.  It wasn't working, so I started cutting.  I figured I would wing it when the time came.

The time came and I was still clueless.  I have gone through about five different versions of similar patterns and now I am even more clueless.  So many possibilities!!

I hit on one particularly geometric repeating pattern that reminds me of a circus tent (can't get away from it) and one with a more subtle pattern that looks a little haphazard.

Pictures have been taken of each and I will deliberate for a bit.  Maybe I'll attempt some chaos.

January 21, 2013

An Almost-Finished Baby Quilt!

Finally--a productive weekend in the Sposetta-Regnier household!  I tell you, these lazy Sundays bore me to death.

Last weekend I wrote about plans for a baby quilt for a co-worker.  I was torn about the cross design.  Finally, I decided to just do it.  If I sat around and thought about it anymore I was going to drive myself crazy!  However, this quilt didn't move nearly as fast as my other quilts have recently.  It was also a ton of piecing: each block is made of eleven pieces, and there are 39 blocks in the baby quilt.  It's much more involved than my HSTs and basic patchwork!

As a reminder, the pattern is Cluck Cluck Sew's Inside Out.  I bought this pattern when I first decided to learn how to quilt and have been dying to make it ever since.  I love cross quilts!  The solids are all from Hawthorne Threads and are a mix of Cotton Couture, Bella Solids, FreeSpirit Designer solids, and one Laura Gunn Painter's Canvas.  I've found lately that I love working with solids and really enjoy adding the leftovers to my stash.

I started cutting Monday night and stopped working on it Sunday morning.  All I have left to do is quilt and bind! We'll talk about that after the pictures.


I chain-pieced many of the block parts.  This was my first time chain-piecing and, while I learned a new skill, it made piecing the blocks later so boring and tedious.


Laying this out was a labor of love.  I didn't make equal numbers of all the colors, and had a very specific vision in mind: I didn't want the same color touching in any of the rows, and I wanted the values to be equally spread out.  So at 11 PM Saturday night, after Nick was asleep and my internet had decided to stop working (rendering Hulu useless), I finally got it right!

I was up early on Sunday to photograph it:


Puddin' helped me baste (and thoroughly pissed me off in the process):


So now the quilt is rolled up in a tube, waiting to be quilted!

Which brings me to the question, how should I quilt it?  I don't have a free-motion quilting foot yet, which puts a damper on that plan.  I also can't do straight lines, because, with this sort-of wonky layout, it will look like I'm drunk or dumb, take your pick.  My mom suggested I quilt inside and outside the crosses, which I like.  I also saw wavy lines done with a walking foot (amazing and mind-blowing, at least to me) on Camille Roskelley's blog and am leaning toward that.  Do you have any suggestions?

What did you quilt this weekend?

November 28, 2012

Binding Lessons

I had so hoped to have a finished quilt to welcome you back from our little Thanksgiving break, but I got sick over Thanksgiving so I didn't get as far as I hoped.


This sad thing waited for me all through the weekend.  It's all squared-up with no where to go.  About the same time I did this, I got the scrap bag back out and realized I still had enough t-shirt left to create some strips for binding.  Initially, I wasn't sure about binding with t-shirts as it is stretchy and may not lend enough support to the thing.  In the end I decided why not go all the way.

This means the only materials I bought for this quilt (beyond necessary quilting tools which will be used over and over) are the wadding and some embroidery floss.  Everything else was reused from my stash.  It's not much, just fabric and thread, but I'm pretty proud of that fact.

Anyway, on to the binding.

I had two white strips left over from the 'back widening' snafu and enough big red blocks and two red sleeves to create two more strips.  The white strips were 2.5 inches and the red 2 inches.  Having not read a binding tutorial yet, I didn't realize this could be a problem.

In fact, when I started, I didn't plan on reading a tutorial   As with the rest of the quilt, I was going to figure it out on my own.

I began 'pinning' the white strips in preparation.


My plan was simply to run a seam down the edge, turn it all over, iron a fold in the remainder of the binding and sew it down.  Luckily I thought this through a bit more before putting needle to fabric.  Have you spotted the problem?

Simply sewing down the back side would leave an obvious seam on the front.  I couldn't for the life of me figure out how to fix that, so I broke down and looked up a tutorial.  Of course, I realize refusing to use tutorials is ridiculous as the whole point of the my side of the blog is to learn from those women willing to pass along their skill and memory and learn myself.  So I humbly typed 'how to bind a quilt' into Google and stumbled upon this one from Red Pepper Quilts.  At first read I didn't understand anything beyond the fact that I had cut my red binding too skinny, I should fold the binding in half first thing, and I really should have a continuous length of binding instead of four separate pieces.  Oh well.  I started with the one thing I could fix and hoped it would all work out.

being lazy and folding while still 'pinned'

finished product

red binding waiting on the banister

I attached the white binding first with a zigzag stitch right along the edge.  In hindsight, leaving a seam allowance would have made it less 'curly.'  The jersey of the t-shirts tended to stretch a bit and so it was more like a surged edging than a seam.


Once the white binding was attached, I ironed it flat and 'pinned' the red.


When sewing the binding, I left the corners free.  I have yet to figure those out.  Again, I have an idea in my head of how it should work, but those ideas haven't worked in reality thus far so I may have to rethink.  Having learned from the white edges, I left a bit of a seam allowance with the red.  Apparently temporarily forgetting the red wasn't wide enough in the first place.

Things were humming along just fine until about six inches from the end of the last edge.


Suddenly the machine gave out.  The thread kept busting, the needle kept hitting the foot and there was a rat's nest of thread to be cut away underneath every time.

I couldn't figure it out.  I tried re-threading about six times.  Same problem every time.  I tried taking the foot off and reattaching.  Same thing.  I tried tightening all the screws, thinking it got jangled in the move.  Same thing.  At one point a very large clump of lint came out with the rat's nest of thread.  At this point I had made enough frustrated noises that Pete came upstairs to check out the problem.  He watched about three attempts and suggested everything I had already done.  After witnessing the lint ball he decided to take off the running board and blow out any remaining lint.

The next attempt worked and I finished the last six inches.


It wasn't until that point that I turned the quilt over to inspect the work that I found the real culprit.


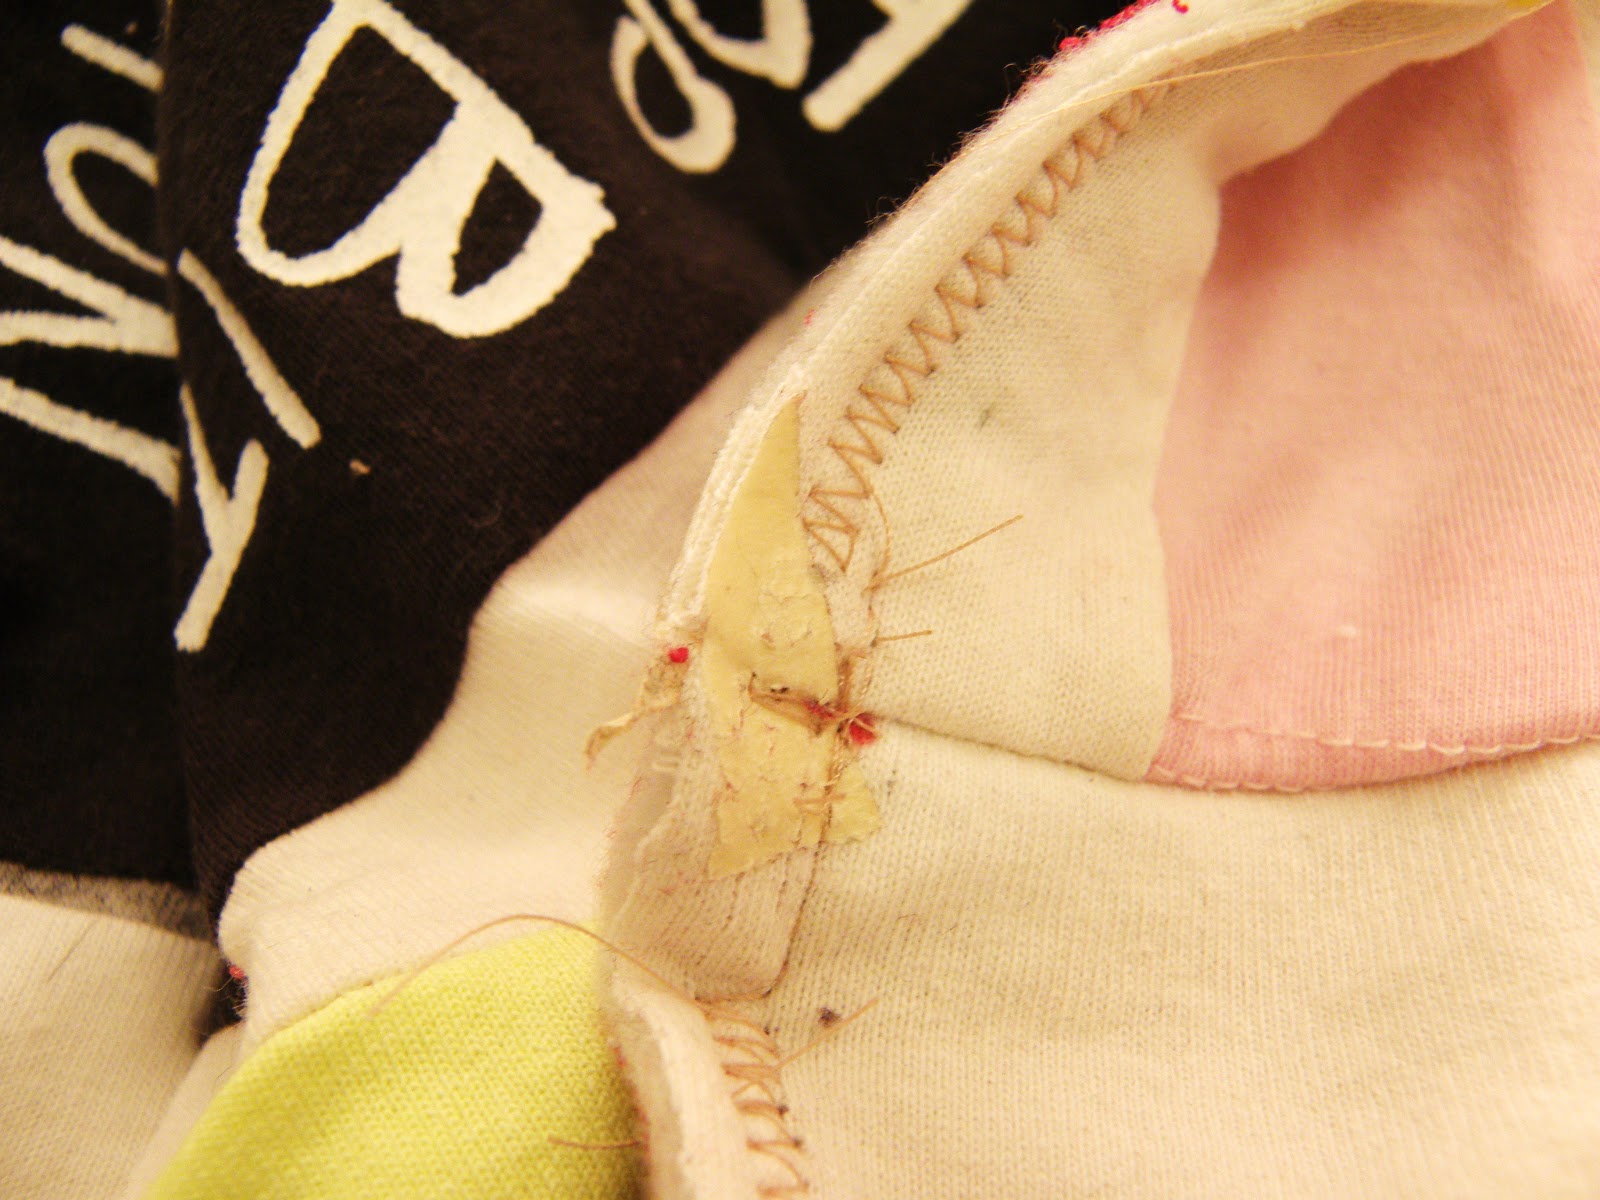
I had left a piece of masking tape on the backing.  Oops!

At the time I probably thought it was a relic of the process and left it to be a marker for a story.  The resulting story of lint and frustration was not expected.

November 14, 2012

Fit to be tied

I can finally leave the back of this quilt and return to the heart of the project.  The front has the stories and I was anxious to get back to it.  I almost forgot what it looked like.

I never intended to properly quilt this side.  The 'quilting' part of this project was more patchwork than texture.  However, having got my hands dirty with the back section, I feel okay about leaving this side a little bare.  I do however need to find a way to attach it to the wadding and the back section.

I settled on tying.  In my head this meant creating little bows at junctures. In reality it was a pain and very fiddly.  My fingers still ache a bit from the tiny work.  The quilts I referred to (in my head) for this step always used yarn for the bows.  It's a bit more substantial and cozy, but it also eventually turns into natty lumps.  I also didn't have any around.

I went with embroidery floss again.  I may live to regret this decision, as it isn't very substantial at all, but it was what I had on hand and I was feeling comfortable after all that hand quilting.

First I had to layer the pieces together.  The back is fairly sturdy as is, so I just smoothed it out and rolled the top out while praying it all was generally the same size.  After my issues with the back sizing I had a brief panic about it all being too big or small.

Turns out it is almost perfect.


All that worrying and it turned out just as it was meant to.  It's almost as if I actually know what I'm doing and not just making it up.

Once the top bit was squared up to the bottom bit, I started pinning it together.  I tend to work from one edge and then sweep along (right to left, left to right) working my way to the opposite edge, always smoothing out as I work.  The issue I have with tying is that the back and front are in no way in conversation and so any marks on wither side will stand out on the opposite side.  In order to make the tying a bit easier, I pinned at each juncture I wanted a bow.  This gave me stability in the fabric, but also a guide on the back to see if any points just happened to match up and I could go through all layers.

I'll save you the suspense, none matched up.


Because none of the front junctures were anywhere close to any of the back junctures the tying portion of this game was going to be tricky.  I had to catch the top and the wadding in the bow, but leave the back to its own devises.  With all the hand quilting, the back is quite secure with the wadding.  I'm just hoping the multitude of ties on the front will keep the front secure to the wadding as well.

With nothing left to do but start, I boldly heading into unknown territory and starting experimenting with some bows.  I start with a needle and floss, make an initial stitch (leaving a very long tail) and then double that stitch so it is as secure as possible.  Next I simply tie a bow, as if I was tying my shoes, and double knot it.

Done.


Inevitably, the first one didn't grab enough layers but the rest turned out fine, in terms of layer catchment.  The bows are a bit anemic, but I think it will do.

When I got to the end, I realized the scattering of knots may not be enough to hold everything in place until the binding goes on, so I worked my way around the edge, tacking each juncture through all three layers.


And so it's done.  Or at least one step away from done.  Now all that's left is binding.

I say that like it's a simple thing of just whipping it through a machine and TA-DA! QUILT DONE!  I have no idea how to go about binding this sucker.  I may have to break down and read a tutorial or something.

I have to admit the tying treatment didn't turn out how I imagined, but it will have to do.  I'm ready to be done with this particular project.  This quilt has been with me for four months.  The first stages are the most exciting and exasperating in equal measure.  The piecing, patchwork and watching it take shape is exhilarating and full of memory.  These final bits of sandwiching and quilting and binding feel a bit like administrative paperwork.  No wonder so many quilts go unfinished.  Despite the paperwork-aspect, the stories of unfinished quilts would be interesting tales nonetheless.


However, the year is coming to a close and it is time to tie up loose ends and get sorted for the new year.


What projects are you putting off?
How much would it take to finish them and start the new year afresh?


Tell us your paperwork-quilting stories...

November 7, 2012

RESULT!!

So here it is.  The legend... (wait for it) ...dary hand quilting. 


There are definitely some wonky bits.  I also had to pull out two lines of stitching because I got my gradient (or ombre) scheme wrong.  Those Waltons were drawing my focus.  


The visual interest is upped and the florescent bits are toned down a bit.  Always a good thing.  It still isn't my favourite part of the quilt but I'm not as annoyed either. 

Time to sandwich and figure out what to do with the front bit.  More quilting? Or tying? I'm leaning toward tying.  

We're getting close to the end of this project, folks.  Emily whipped through a bazillion and here I am toiling away on this one little odd shaped quilt.  I told you this was going to be a long ride. 

Have no fear, the next project will be just as drawn out, I'm sure.  I wouldn't want to break with tradition.