Showing posts with label improvisation. Show all posts

April 11, 2013

Dino Might

After finishing Pruin's quilt I was at a loss on what to do next.  I mentioned a while ago that I had become obsessed with Log Cabin quilts and patterns and that obsession might shape my next project.  However, I'm not sure whether to start that up since my midwife insisted I get my birthing pool THIS WEEK because WoW! that baby is snug down there in the pelvis. However, it is all guess work and I could be in this inflated state for another six days or another six weeks.  Baby comes when it comes.

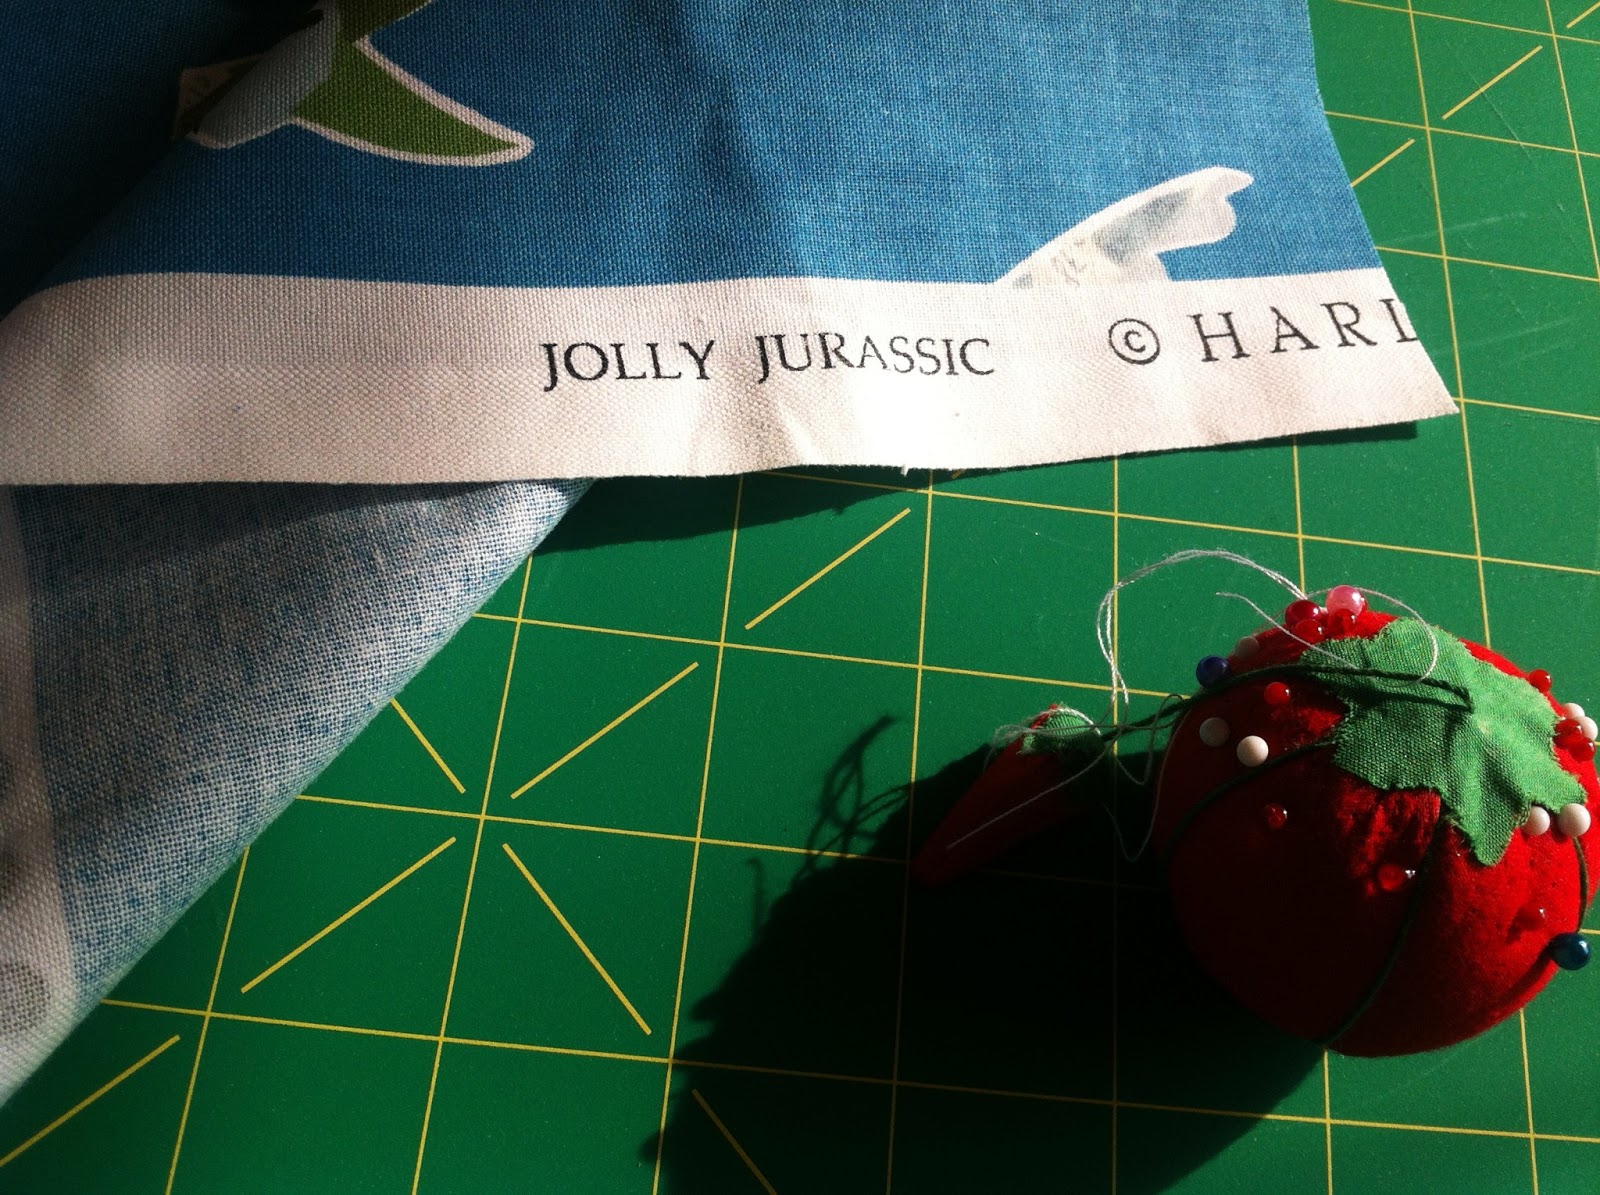
While I contemplate the possible immediacy of Pruin, I went with a smaller one-day project.  I had been eyeballing these round-bottomed fabric bins from Film in the Fridge as the perfect solution to catch random Pruin stuff around the house. The little one isn't even here yet and there is already stuff everywhere.  On my trip to Liberty I bought some generic patterned fabric to use whenever and I still have that bag of remnants from my local upholstery shop.  While rummaging for options in the remnant bag I found a strip of dino fabric that just so happens to be the textile equivalent of the wallpaper in Pruin's room.  It seemed 'meant to be.'


Being that it was a remnant, the dino fabric isn't exactly the right size laid out in the tutorial, nor is it cut in a way that highlights the pattern.  Improvisation was the order of the day.


First improvisation was a rectangle shape.  Not the sturdiest of design choices as I later found out. 


As I worked through the process, I realized my inner and outer boxes were not the same size and attaching them in the manner presented in the tutorial was no longer an option.  
It was at this point I told Emily I was going rogue.  Strong words for a simple fabric bin construction, but I was throwing caution to the wind and forging a new path.  


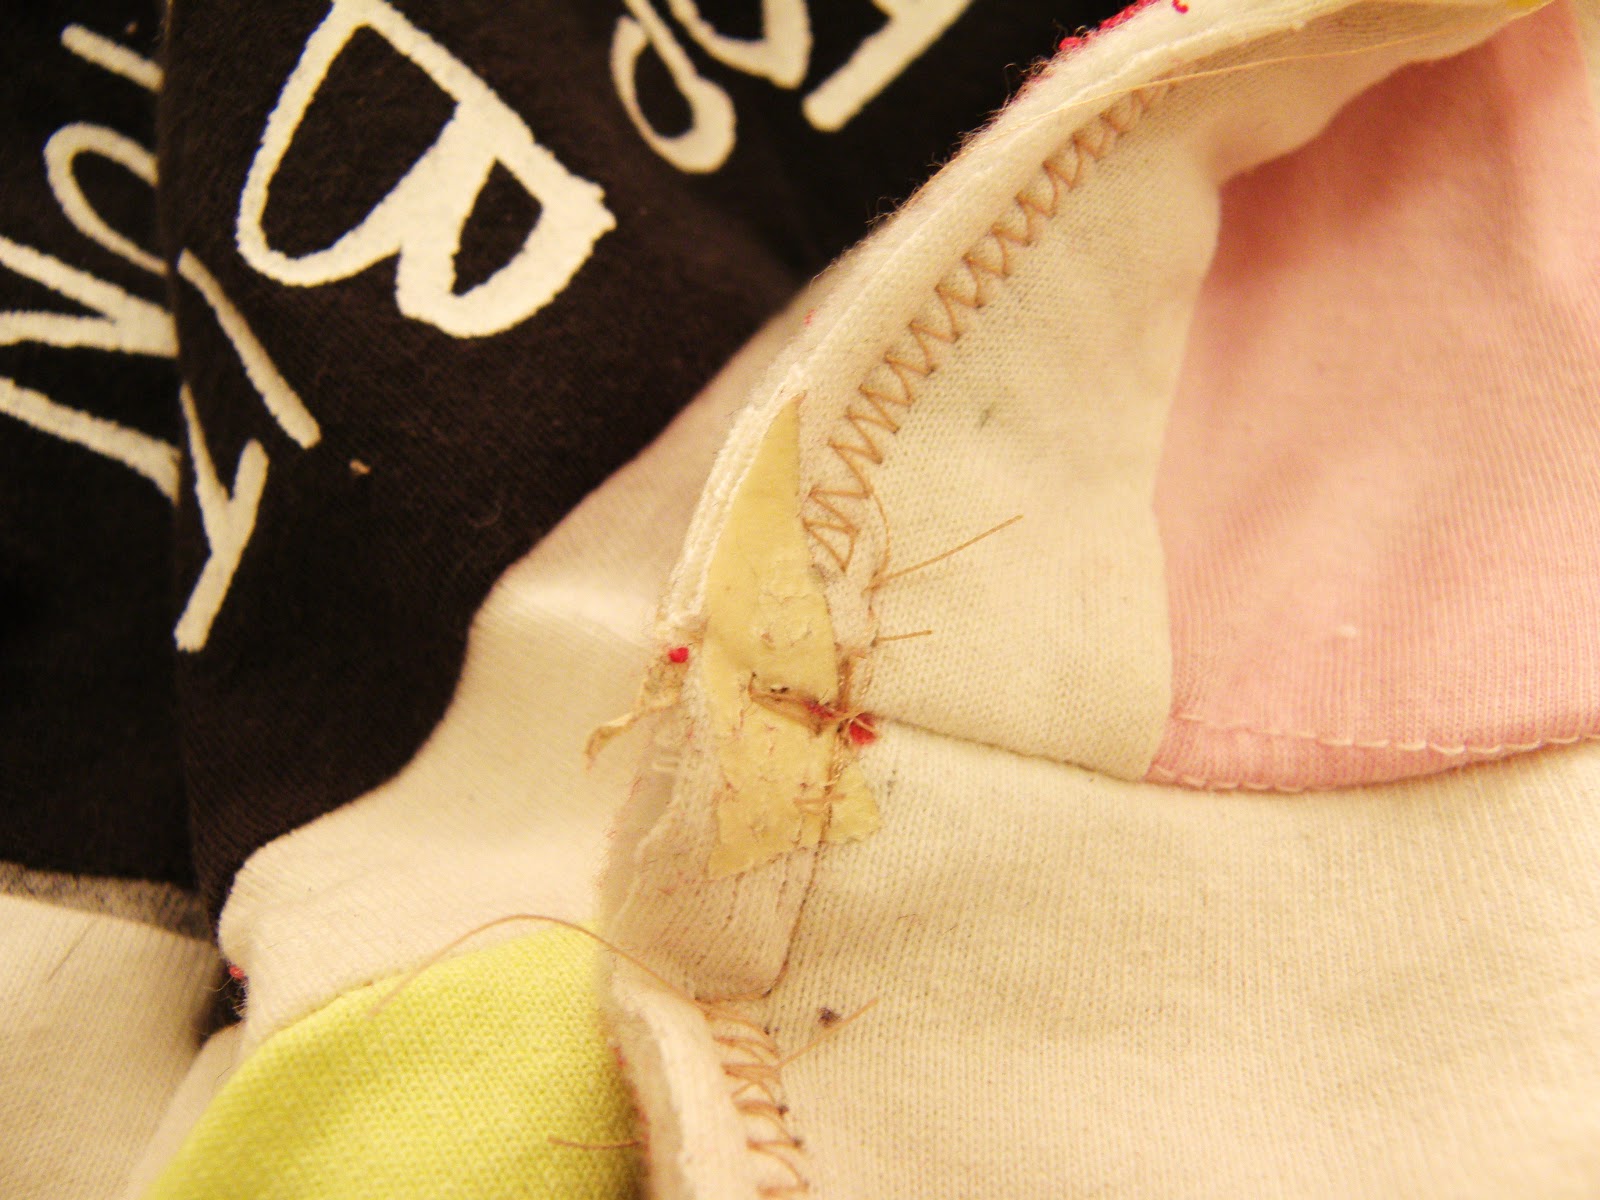
'Going Rogue' turned into a relatively mild solution of some top-stitched binding around the top seam to match the bottom fabric.  


Once finished, it sat relatively nicely.  The construction seemed to hold up.  We had some dinner, spent two and a half hours assembling Pruin's pram and just before bed, I moved the box into Pruin's room.  


It seems to wilt a bit more each day.  The bottom isn't quite wide enough for the height of the sides.  It seems to have found it's equilibrium now and I'm sure once 'stuff' goes in, you'll hardly notice the slouchiness.  


It's not quilting, I know, but I did use my newly found binding prowess so I feel completely justified sharing this project with you here in this quilting space.  


Speaking of sharing in the quilting space...

We're still looking for some guest writers to cover a bit of maternity leave when Pruin does decide to arrive.  

Are you working on something and want to share?
Are you contemplating working on something and need to work through the 'should I, shouldn't I?'
Do you have a quilt story in you somewhere? 
A memory of skill or fabric being passed down?
A general fascination with pieced fabric?

Whatever it is, we want it.  We need it.  We would love to have you over.

Think it over and get in touch.  

December 19, 2012

Scrappy Squares

What to sew, what to sew?

To be honest, when we started this venture I didn't think beyond the t-shirt quilt.  I had been wanting to attempt it for so long and was so sure it would take me ages that I didn't think there was a need to think beyond the jersey adventure.

But then I was done.  What to do next?

I am planning a baby/cot quilt made out of Pete's old work shirts for our little one, but I'm not ready to attempt that just yet.  I want that one to follow a more traditional quilting pattern but, as the fabric might be a bit more dear or delicate, I'm not up for using it for experimentation.

Enter a remnant sale at my local fabric/upholstery shop.  Actually, it's more upholstery.  I came home with all kinds of remnants perfect for cushions or window treatments.

I specifically pulled a collection of very small remnants (actually the remains of a sample book) to experiment with some triangles.


Not the most alluring of colours or design.  After relieving each piece of its paper backing I started pairing them up purely on size.  Which squares were of similar size?  Then without much forethought, I ran the seams down the middle of the squares resulting in two squares made up of two triangles.


Well now what?

Because I didn't put a lot of pre-thought into the project I'm stuck trying to create some patterns out of a bit of colour chaos.  I'm thinking of making these into slipcovers for the pillows on our couch.  Pete won't be thrilled as he likes things simple but those cushions need a bit of liven up and I need to practice.  Of course this means I shall have to learn to sew either zippers or button holes.


Perhaps I could try to pass them off as seasonal decor.  If I arrange them just right perhaps I can create a 'Christmassy' look or 'spring renewal' pattern.


Let's not hold our breath.

November 28, 2012

Binding Lessons

I had so hoped to have a finished quilt to welcome you back from our little Thanksgiving break, but I got sick over Thanksgiving so I didn't get as far as I hoped.


This sad thing waited for me all through the weekend.  It's all squared-up with no where to go.  About the same time I did this, I got the scrap bag back out and realized I still had enough t-shirt left to create some strips for binding.  Initially, I wasn't sure about binding with t-shirts as it is stretchy and may not lend enough support to the thing.  In the end I decided why not go all the way.

This means the only materials I bought for this quilt (beyond necessary quilting tools which will be used over and over) are the wadding and some embroidery floss.  Everything else was reused from my stash.  It's not much, just fabric and thread, but I'm pretty proud of that fact.

Anyway, on to the binding.

I had two white strips left over from the 'back widening' snafu and enough big red blocks and two red sleeves to create two more strips.  The white strips were 2.5 inches and the red 2 inches.  Having not read a binding tutorial yet, I didn't realize this could be a problem.

In fact, when I started, I didn't plan on reading a tutorial   As with the rest of the quilt, I was going to figure it out on my own.

I began 'pinning' the white strips in preparation.


My plan was simply to run a seam down the edge, turn it all over, iron a fold in the remainder of the binding and sew it down.  Luckily I thought this through a bit more before putting needle to fabric.  Have you spotted the problem?

Simply sewing down the back side would leave an obvious seam on the front.  I couldn't for the life of me figure out how to fix that, so I broke down and looked up a tutorial.  Of course, I realize refusing to use tutorials is ridiculous as the whole point of the my side of the blog is to learn from those women willing to pass along their skill and memory and learn myself.  So I humbly typed 'how to bind a quilt' into Google and stumbled upon this one from Red Pepper Quilts.  At first read I didn't understand anything beyond the fact that I had cut my red binding too skinny, I should fold the binding in half first thing, and I really should have a continuous length of binding instead of four separate pieces.  Oh well.  I started with the one thing I could fix and hoped it would all work out.

being lazy and folding while still 'pinned'

finished product

red binding waiting on the banister

I attached the white binding first with a zigzag stitch right along the edge.  In hindsight, leaving a seam allowance would have made it less 'curly.'  The jersey of the t-shirts tended to stretch a bit and so it was more like a surged edging than a seam.


Once the white binding was attached, I ironed it flat and 'pinned' the red.


When sewing the binding, I left the corners free.  I have yet to figure those out.  Again, I have an idea in my head of how it should work, but those ideas haven't worked in reality thus far so I may have to rethink.  Having learned from the white edges, I left a bit of a seam allowance with the red.  Apparently temporarily forgetting the red wasn't wide enough in the first place.

Things were humming along just fine until about six inches from the end of the last edge.


Suddenly the machine gave out.  The thread kept busting, the needle kept hitting the foot and there was a rat's nest of thread to be cut away underneath every time.

I couldn't figure it out.  I tried re-threading about six times.  Same problem every time.  I tried taking the foot off and reattaching.  Same thing.  I tried tightening all the screws, thinking it got jangled in the move.  Same thing.  At one point a very large clump of lint came out with the rat's nest of thread.  At this point I had made enough frustrated noises that Pete came upstairs to check out the problem.  He watched about three attempts and suggested everything I had already done.  After witnessing the lint ball he decided to take off the running board and blow out any remaining lint.

The next attempt worked and I finished the last six inches.


It wasn't until that point that I turned the quilt over to inspect the work that I found the real culprit.


I had left a piece of masking tape on the backing.  Oops!

At the time I probably thought it was a relic of the process and left it to be a marker for a story.  The resulting story of lint and frustration was not expected.

October 10, 2012

My sewing story

It's Wednesday again.  Funny how it keeps coming around...

I haven't made progress on the quilt.  Emily puts me to shame with all her projects.  She's amazing.  And she has an actual job as well.  I mean, really, there is no excuse for me to be so behind, but the quilting fervor I had before moving disappeared.  I was using quilting as a way to procrastinate packing.  Funny how that pattern keeps coming around...

Put now the two sides of the quilt are done and the next step is giving me anxiety.  I tried doing a bit of online research about batting (or wadding as they call it here) and I got all worked up about how I did my quilt wrong.

Before I continue, I should say that I don't think there is just one way to piece fabric together correctly, but thousands of women (and some men) have gone before me and figured out the kinks and I just plunged headlong into sewing pieces together without much thought about what came next.  This could bite me in the butt.

Let's forget that I have no idea if I want cotton, polyester or wool batting (as I have no idea how the quilt will be used and apparently this is the deciding factor in this multiple choice hell), but it turns out I went about my sizing of the back all wrong.

I was working under the assumption that the front and back should be of the same size.  You make a sandwich with the batting as the meat and then stitch it all together and slap on some binding around the edges.  However, every bit of 'batting sizing' advice I could find told me this...

"The batting should be cut larger than the front of the quilt, but smaller than the back."

It took me awhile to understand this statement.  I fancy I have decent spatial awareness, something to do with the Geography training perhaps, but I could not wrap my head around how this arrangement was physically possible when the front and back of the quilts are the same size.

...unless the back is supposed to be bigger than the front.  Are you freaking kidding me??!!!

Is this some secret of quilting that everyone knows but no one says?  Because it is a given that any fool with a sewing machine knows?

image from here

This is not the first time my ignorance is blinding obvious.  A few months ago, Emily and I were having a twitter discussion about t-shirt quilts and she casually asked me, "are you using a ballpoint needle or stabilizer for your shirts?"

................?????

I had to respond that I had no idea what either of those two things were, so no, I wasn't using them.  I was using the foot and needle that came with the machine and any thread I could find and any bobbin that was wound and a 'shitload' of straight pins (that's a technical term). I had no advice on thread tension or stitch.

The truth is out now.  I'm a hack.

I went into this project relying on the sewing knowledge and skill passed on to me from my mother, grandmother and the women of the circus.  I was following my gut and instincts.  It was an experiment of sorts.

Could I create a passable quilt out of memories and scraps?
Could the essence of this traditional craft be simple and instinctual?
Could the very simple instructions of good side in, sew together, open be universal enough?


Well, the quilt isn't done yet.  But I think I am going back to winging it.  I started this journey with the idea of harnessing past memories and skills handed down.  That's not to say that the many tutorials out there are not cut of the same cloth, but they are cold to me at the moment.  I don't know the women behind them and they don't know me.  The advice is useful but impersonal.  I'm not looking for an instruction manual, I'm looking for a story.

For now, my story is one of imperfect improvisation.  An honoured tradition to all the women that taught me to sew.  Funny how it keeps coming around.


What's yours?

September 19, 2012

Topsy Turvy

Hello Folks!

We are moved into the new house.  And by moved I mean we managed to get all our stuff from the little one bedroom flat into the house.  Do not suppose we are unpacked or settled.  That would require more effort than we can manage right now.

However, instead of buckling in and organizing, we are running away to a beach in Kos, Greece for a week.  We are in desperate need of some sun and warmth.  Summer never really properly arrived here in the Big Smoke, or at least it didn't in our estimation both being from countries where summer means it gets over 70 degrees for more than two days.  So we are heading somewhere it is still above 70 degrees for days at a time.  We plan to do nothing but sleep, read and swim.  Hopefully get a little colour.

For you readers in the US, it's like going south for a week.  

But we leave today so here are some photos of the piecing of the top of the quilt.  This was a moment I also learned the value of ironing as you go.  There are some wonky squares veering to the right or left, but I think I worked out the kinks with some extra strips between sections.  These strips were made out of the sleeves of some of the circus tees.  Nothing goes to waste here.


At this point you might notice the section on the right is looking a bit different than when I laid it out to tape the floor.  These things happen when you don't have a plan.  I'm still not sure if no-plan is the best plan, but I'm making it work the best I can.  There were a few hiccups here near the end, but I only had to unpick one piece.  Once the right and left sections were relatively the same size and attached relatively evenly, I tackled attaching the long circus strip.


See that wonky-ness near the bottom center? No worries, I fixed it before I attached the bottom.


I had to use the dotted line trick again, but this is what happens when you go with the no-plan plan.

So what do you think? The top is done.


Here's the kicker.  When we were packing, I found another bag of tees I had set aside for the quilt.  Oops.  I guess I'll have to find something else to make with them.

Maybe some throw pillows for the new house?  I kid.  Sorta.

September 12, 2012

Flattened


Oh Folks.  I am exhausted.  And not from all the quilting.

I did get a little over-zealous and went on a bit of a quilting binge, but now I am tired.

Also, we are moving this weekend and the stress of moving into our own home is overwhelming.  More so, because we ran out of boxes about two thirds of the way through the kitchen.

So while I am flattened physically, my quilt is also flattened.  I learned the lesson of ironing.


This is one of those lessons we all know in theory, but don’t necessarily heed until we learn the hard way.  I didn’t iron any of the top sections while piecing.  I know.  Especially stupid considering t-shirts are not the most obliging of materials.  The wonkiness (that’s an official term) produced by not ironing is obvious in the slight slant in each section.

However, on the back, I learned my lesson.  Working with tiny, curly strips of jersey was impossible without sewing.  After ironing the pieces already pieced, I found that I tend to sew my seams on a slight arc.  No matter how diligently I pin, the result is a slight arc.  Of course I didn’t realize this until I flattened everything out.

I started to mark the route, as it were, in an attempt to get back to the straight lines I achieved in that very first section.  It feels a bit like going backwards, like putting the training wheels back on after learning to go it alone.


One of the reason I hadn’t ironed was that I don’t have the square footage in my flat to layout a quilt and iron it in the same space.  I have taken to quilting in the front room, which means rolling back the carpet, setting the machine up on the credenza and the ironing board out in the hall.  Not a flowing system, but it worked.

Sewing the back became a bit of an obsession with me.  As with most obsessions, I was operating in a bit of a vacuum.  Not on purpose, just due to the sheer ‘present mindful-ness’ that quilting brought to me.
It wasn’t until I was almost done that I even thought about how this back might translate to the front when it came to the actual quilting part.  These sections are oriented vertically, but with horizontal strips.  The front sections are separate squares, neither vertically or horizontally.  How will the quilt stitching look cutting across the front?  Or should the front serve as the guide? These are questions I have yet to answer.

Once the scraps were cleared and the three sections ironed and laid out in its tape outline, I realized it wasn’t quite wide enough.  In fact, some pieces within the sections were significantly skinnier than their surrounding pieces.


How did that happen?

More importantly, what to do about it?

Now all the wrinkles are flattened out, the flaws are becoming more and more evident.  Corners I thought meeting up in nice squares missing just enough not to look intentional, just mis-calculated.  Do I rip out the seams and try again?  Or do I leave it as a lesson?


Flurried, obsessive bouts of sewing are enjoyable, but mindful, patient, practice results in more satisfactory product.

Right now, I am just too tired to undo it.  The perfectionist in me will have to let it go.  A lesson learned.

That and ironing.

September 5, 2012

Looking back


As I was finishing the circus strip, I snapped a pic of the lay-out and sent it off to my quilting partner-in-crime, Emily.  I was ridiculously excited about my progress and I hoped she would be impressed as she is a much more competent sewer than I.


She came back with suitably supportive exclamations and then asked about what I was thinking for doing about the back.

That stopped me cold.  I had no idea.

As I spoke about last week, up until that point I hadn’t really thought about the rest of the quilt, or even the quilt as a whole.  I was just going piece by piece.

That was when it occurred to me to try and make the back out of the t-shirt scraps.  Emily thought it was a great idea.  To begin, I went through my scrap bag (I have a scrap bag.  Am I a quilter or what?) which is just a large Ziploc.


I pulled out anything I thought had enough square area to be useful and then started trimming.


I started with the smaller pieces, creating a lot of strips of various sizes and then moved on to bigger blocks of various sizes.  These were mostly remnants of shirts from the first two sections as they were already cut out.  Finally, I moved onto the remnants of the circus shirts which were mostly almost whole pieces.  I left a bunch of large pieces and then salvaged every little scrap I could.


However, I left one shirt untouched.  I can’t say why.  I also left the sleeves of each shirt intact.  Again, I can’t speak to the decision making process.

When done, I had quite a variety.  Admittedly mostly of the circus shirt pieces, which to be honest aren’t a great colour palette, but what’re going to do, eh?


At this point I realized I had no idea how large the back needed to be or how I would lay it out.
Unlike the front sections, this was one entity.  All these scraps were going to go together in one large piece as opposed to working in serendipitous sections.  I froze a bit, unsure where to start.

Despite this hesitation, I didn’t want to stop my serendipitous style of piecing by resorting to measurements and math, so I laid out the top pieces as neatly as possible on the living room floor.  I then used drafting tape to mark the corners and edges.  I now had a permanent ‘pattern’ on the floor to shape the back.


I started with the big blocks in the corners and attempted to lay out smaller ones in the left over spaces.  I wasn’t feeling it.  Nothing seemed to be quite fitting right.  Not the colours, not the shapes, I wasn’t happy.


So instead, as with every other section thus far, I decided to just start piecing together scraps as I found them.  I ended up with three ‘scrapy’ blocks I was really happy with and just kept going.


In the next eight hours I went through three bobbins and two spools of thread.  I finally stopped when I sewed two pieces together back to front and my final bobbin ran out.  It seemed  a sign that I had become a bit too feverish in my piecing and it was time to take a step back and look at what I had to work with now.


The blocks seemed to be taking on a vertical orientation and all about a third of the width of the quilt.  It looked like my pattern had again been decided for me.


Join me next week for a lesson learned...